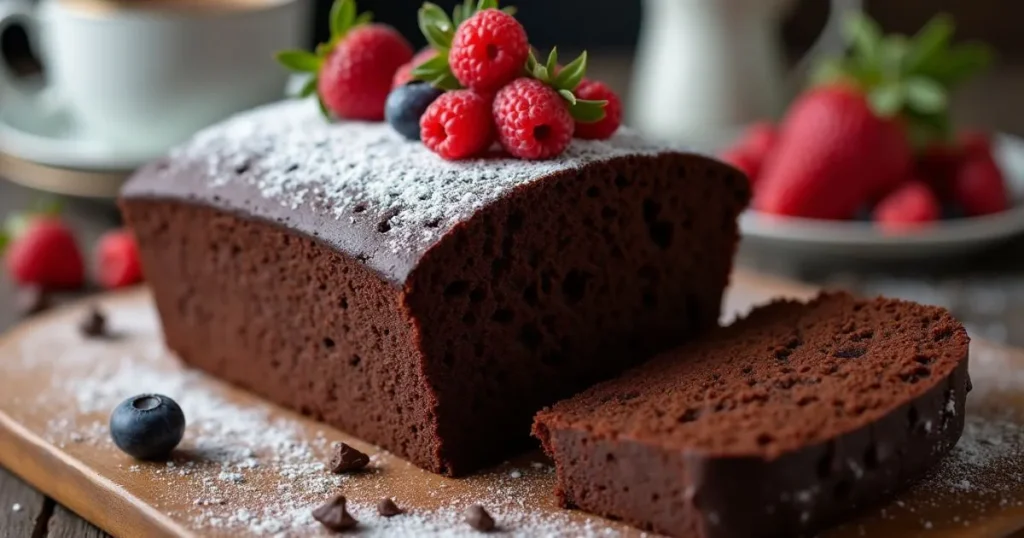
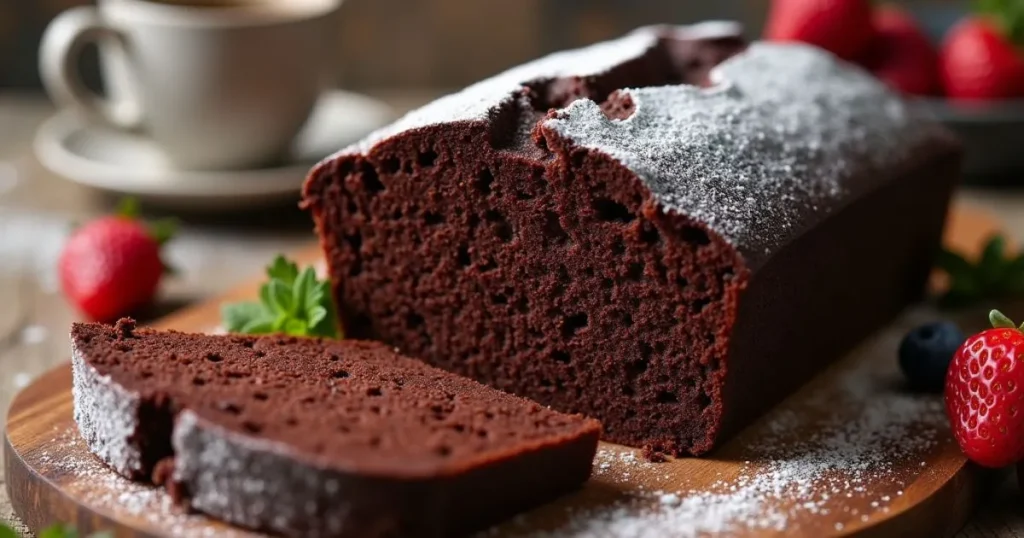
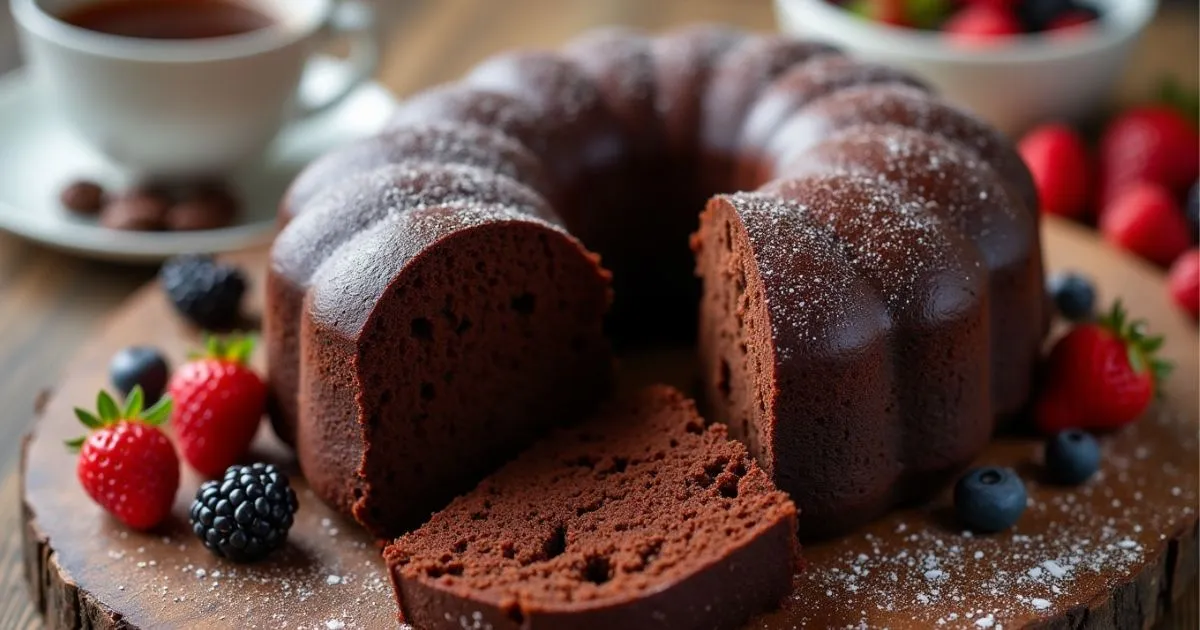
There’s something truly magical about the perfect chocolate pound cake. It’s a dessert that bridges the gap between indulgence and tradition, a treat that can transform an ordinary moment into a celebration. Have you ever wondered how to achieve that dense yet moist texture, the kind that melts in your mouth and leaves you reaching for another slice?
In this guide, we’re delving deep into the art of making chocolate pound cake. From selecting the finest cocoa to balancing the right proportions of butter, sugar, and flour, this recipe is designed to make baking not just approachable but enjoyable. Whether you’re an experienced baker seeking inspiration or a novice ready to take on a culinary adventure, this recipe has you covered.
By the end of this post, you’ll have all the tools, tips, and confidence needed to create a chocolate pound cake that’s not just good but extraordinary. Let’s roll up our sleeves and bake something unforgettable!
Table of Contents
Key Takeaways for Chocolate Pound Cake
Recipe Highlights
- Simple to Make: This recipe features easy-to-follow steps, making it accessible for beginners while still satisfying seasoned bakers.
- Adaptable Ingredients: Easily customize the components to suit dietary needs, such as creating vegan or gluten-free versions.
- Perfect for Any Occasion: A classic dessert that fits seamlessly into celebrations, from intimate family gatherings to festive birthdays or holidays.
Unique Features
- Luxurious Taste: A perfect blend of rich cocoa and buttery goodness that delivers indulgence in every bite.
- Topping Options: Elevate the cake’s appeal with creative finishes like smooth chocolate ganache, fluffy whipped cream, or fresh, vibrant fruits.
- Multipurpose Appeal: Enjoy this treat on its own, or pair it with a hot cup of coffee or tea for a satisfying experience.
Nutritional Value and Health Benefits for Chocolate Pound Cake
1. Overview
This chocolate pound cake beautifully blends indulgence with a balanced approach to nutrition. By selecting premium cocoa and allowing for ingredient flexibility, it caters to various dietary preferences without sacrificing flavor. Whether you’re looking for a satisfying treat or a slightly healthier dessert option, this cake can easily be customized to suit your lifestyle.
2. Key Nutrients
| Nutrient | Amount per Serving |
|---|---|
| Calories | 350 kcal |
| Carbohydrates | 48 g |
| Protein | 6 g |
| Fats | 15 g |
| Fiber | 3 g |
| Iron | 12% Daily Value |
3. Health Benefits
- Cocoa Powder: Known for its powerful antioxidant properties, cocoa helps support heart health, combat inflammation, and may boost brain function.
- Eggs: A rich source of high-quality protein and essential vitamins like B12, eggs aid in muscle repair, promote skin health, and contribute to overall well-being.
- Butter: Although high in fat, butter is an excellent source of energy and helps the body absorb fat-soluble vitamins A, D, E, and K, which are essential for immunity and skin health.
4. Modifications
- Vegan-Friendly Option: Substitute traditional eggs with flaxseed eggs (1 tbsp of ground flax + 3 tbsp of water) and use plant-based butter to make this recipe completely vegan.
- Gluten-Free: Replace the all-purpose flour with almond flour or a gluten-free flour blend to cater to those with gluten sensitivities.
- Low-Calorie Version: Cut down on calories by swapping half the butter with unsweetened applesauce, which will also add a hint of natural sweetness.
By making these simple swaps, you can enjoy this delicious dessert while adhering to your dietary goals.
Ingredients for Chocolate Pound Cake

Here’s a list of all the ingredients you’ll need to make this delicious chocolate pound cake, along with substitution options to suit various dietary preferences.
List of Ingredients
| Ingredient | Measurement | Notes |
|---|---|---|
| All-purpose flour | 2 cups | Can be substituted with gluten-free flour blend. |
| Granulated sugar | 1 1/4 cups | Use coconut sugar for a lower glycemic alternative. |
| Cocoa powder | 1/2 cup | Dark cocoa powder adds a richer, deeper flavor. |
| Baking powder | 1 tsp | Essential for leavening; no substitution recommended. |
| Salt | 1/2 tsp | Adjust to taste, especially for those on low-sodium diets. |
| Butter | 1 cup | Use plant-based butter for a vegan option. |
| Eggs | 4 large | Flaxseed eggs (1 tbsp ground flax + 3 tbsp water) for vegan option. |
| Vanilla extract | 1 tsp | Optional, but adds depth of flavor. |
| Whole milk | 1/2 cup | Substitute with almond milk, oat milk, or any plant-based milk. |
Optional Additions
| Ingredient | Measurement | Notes |
|---|---|---|
| Chocolate chips | 1/2 cup | Add for extra chocolatey goodness. |
| Chopped nuts (e.g., walnuts) | 1/4 cup | Add a crunchy texture and extra nutrients. |
Optional Substitutions
| Original Ingredient | Substitution | Reason |
|---|---|---|
| Butter | Plant-based butter, coconut oil | For dairy-free or vegan diets. |
| Eggs | Flaxseed eggs, chia eggs | Suitable for vegan diets or egg allergies. |
| Whole milk | Almond milk, oat milk | Non-dairy alternatives for vegan or lactose-intolerant diets. |
| Granulated sugar | Coconut sugar, maple syrup | Lower glycemic alternatives for healthier options. |
With these ingredients and optional substitutions, you can tailor the cake to fit your specific dietary preferences without compromising on taste or texture.
Step-by-Step Instructions for Chocolate Pound Cake
Ready to bake the perfect chocolate pound cake? With these easy-to-follow instructions, you’ll create a rich and indulgent cake that’s sure to impress. Here’s how to bake your chocolate pound cake from start to finish:
Step 1: Preheat the Oven
- Preheat your oven to 350°F (175°C), making sure it reaches the right temperature before you put the cake in.
- Prepare your loaf pan by greasing it with butter or cooking spray, then lightly flouring it. Alternatively, line the pan with parchment paper for easy removal once the cake is baked. This ensures your cake doesn’t stick to the sides during baking.
Step 2: Mix the Dry Ingredients
- In a large mixing bowl, sift together the following dry ingredients to ensure an even distribution:
- 2 cups all-purpose flour
- 1/2 cup cocoa powder (use dark cocoa powder for a richer flavor)
- 1 tsp baking powder
- 1/2 tsp salt
- Sifting is an important step because it breaks up any lumps, particularly in the cocoa powder, and allows the dry ingredients to mix more thoroughly.
Step 3: Prepare the Wet Ingredients
- In a separate, medium-sized bowl, beat the butter (1 cup) with an electric mixer until light, creamy, and fluffy.
- Gradually add 1 1/4 cups granulated sugar to the butter, mixing until the sugar is completely incorporated and the mixture becomes lighter and fluffy. This will help create a soft texture in the cake.
- Gradually add 4 large eggs, incorporating them one at a time and beating thoroughly after each addition. This ensures that the eggs are well incorporated into the batter and helps to maintain a smooth consistency.
- Stir in 1 tsp vanilla extract for enhanced flavor.
Step 4: Combine the Wet and Dry Ingredients
- Slowly add the sifted dry ingredients to the butter and sugar mixture. Do this in stages, alternating with 1/2 cup milk. Start with the dry mixture, then add some milk, and repeat until everything is incorporated.
- Tip: Scrape the sides of the bowl occasionally to ensure all the ingredients are mixed well.
- Stir the mixture gently until the batter becomes smooth, taking care not to overmix. Overmixing can cause the cake to be dense, so stop mixing as soon as everything is combined.
Step 5: Bake the Cake
- Pour the batter into your prepared loaf pan, spreading it evenly with a spatula to ensure it bakes uniformly.
- Place the pan in the oven and bake for 50–60 minutes, depending on your oven. Start checking at the 50-minute mark: Insert a toothpick into the center of the cake, and if it comes out clean or with a few moist crumbs, the cake is done.
- If the top of the cake begins to brown too quickly, loosely cover it with aluminum foil to prevent overbaking.
Step 6: Cool and Serve
- Once the cake is done, let it cool in the pan for 10 minutes. This makes it easier to remove without breaking.
- After cooling slightly, transfer the cake onto a wire rack to cool completely.
- Once the cake has cooled, you can serve it as is or add your favorite toppings such as:
- Whipped cream
- Chocolate glaze
- Fresh berries
- Powdered sugar
- Ice cream or whipped cream for extra indulgence.

Additional Tips for a Perfect Chocolate Pound Cake
To ensure your chocolate pound cake turns out perfectly every time, consider these essential tips that can help you avoid common pitfalls and elevate the quality of your baked goods.
1. Don’t Overmix the Batter
- Why it matters: Overmixing can result in a dense and heavy cake rather than the light and airy texture we all love.
- Tip: Mix the ingredients until just combined. It’s okay to have a few lumps—just don’t go beyond that point.
- How to avoid it: Use a gentle hand when combining the wet and dry ingredients. This preserves the air in the batter, leading to a lighter, fluffier cake.
2. Use Room Temperature Ingredients
- Why it matters: Ingredients at room temperature mix more evenly, allowing for better incorporation and smoother batter.
- Tip: Take the butter and eggs out of the fridge about 30 minutes before you begin. Softened butter will blend better with sugar, creating a smoother batter.
- Pro Tip: If you’re short on time, microwave cold eggs for 10 seconds to bring them to room temperature.
3. Check the Cake Early
- Why it matters: Every oven is different, and some heat more intensely than others. Checking your cake early prevents overbaking, which can dry it out.
- Tip: Start checking for doneness 5 minutes before the recommended baking time.Test the cake by inserting a toothpick into the center; it should come out either clean or with a few moist crumbs attached.
- Pro Tip: If the top starts browning too quickly, loosely cover the cake with aluminum foil to prevent it from burning.
4. Let the Cake Rest After Baking
- Why it matters: Letting the cake cool slightly in the pan helps it set and makes it easier to remove without breaking.
- Tip: Once the cake is out of the oven, allow it to cool in the pan for 10–15 minutes before transferring it to a wire rack. This helps the cake retain its shape.
- Pro Tip: Avoid cutting into the cake while it’s still hot. The flavors need a few minutes to settle and the texture will firm up as it cools.
By following these tips, you’ll ensure that your chocolate pound cake comes out perfectly every time—light, moist, and full of rich flavor!
Serving Suggestions for Chocolate Pound Cake

Once your chocolate pound cake is perfectly baked and cooled, it’s time to get creative with how you serve it. Here are some delicious and innovative ways to elevate your dessert:
1. Pair It with Coffee or Tea
The rich, dense texture of chocolate pound cake complements the warmth and slight bitterness of coffee or tea, making it a perfect snack or dessert option for any time of day. Choose a dark roast coffee or a rich black tea to enhance the cocoa flavors of the cake.
2. Top with Whipped Cream or Chocolate Frosting
A dollop of freshly whipped cream or a drizzle of chocolate frosting adds an extra layer of richness to the cake, making it even more indulgent. For a more festive presentation, pipe the whipped cream or frosting in decorative swirls on top of each slice.
3. Use as a Trifle Base
Chocolate pound cake makes an excellent base for a layered trifle, where its dense texture holds up well against creamy custards and fresh fruit. Layer the cake with custard, fresh berries, and whipped cream in a clear glass trifle dish for a stunning, visually appealing dessert.
4. Serve with Fresh Fruit
The fresh, slightly tart flavor of fruits like berries or bananas provides a refreshing contrast to the dense, rich chocolate cake, balancing out the sweetness. Arrange slices of the pound cake alongside a handful of fresh strawberries, raspberries, or banana slices for a light and vibrant contrast.
With these serving ideas, you can enjoy your chocolate pound cake in a variety of ways, whether you prefer it on its own or dressed up with a few simple additions.
Troubleshooting Common Cake Issues
1. Cake is Too Dry
- Cause: Insufficient moisture in the batter.
- Solution: Replace some of the butter with sour cream or yogurt to add moisture and achieve a softer texture.
2. Cake Didn’t Rise Enough
- Cause: Old or expired baking powder, or improper mixing.
- Solution: Ensure your baking powder is fresh. Mix the ingredients gently to avoid deflating the batter and ensure a good rise.
3. Cake is Too Dense
- Cause: Overmixing the batter or using cold ingredients.
- Solution: Mix the batter until just combined and allow the butter and eggs to reach room temperature before mixing.
By following these troubleshooting steps, you can fix common cake issues and ensure a successful bake every time.refully, you’ll bake a chocolate pound cake that’s both moist and delicious, perfect for any occasion. Whether it’s a casual family dinner or a special celebration, this cake is sure to be a hit!
Conclusion
Baking a chocolate pound cake isn’t just about the final product—it’s about the journey of blending flavors, textures, and creativity into one delicious treat. As you savor each moist, rich slice, think about how a few simple ingredients transform into something so delightful.
Whether you’re baking for a family gathering, a cozy evening treat, or simply indulging your sweet tooth, this chocolate pound cake recipe is versatile enough to fit every occasion. And the best part? With a few tweaks and tips, you can make it uniquely yours, from vegan adaptations to gluten-free versions.
So, are you ready to bring this classic dessert to your table? The possibilities are endless, and the rewards are sweet! Happy baking!
FAQs
Can I freeze this chocolate pound cake?
Absolutely! To freeze your cake, wrap it securely in plastic wrap, followed by a layer of aluminum foil. Keep it frozen for up to three months to maintain freshness. When you’re ready to enjoy it, let it thaw at room temperature, and it will taste just as fresh.
How can I make this recipe dairy-free?
It’s simple to make this recipe dairy-free. Just replace the butter with plant-based butter and swap the milk with almond or oat milk. This will ensure the cake remains moist and flavorful without any dairy.
Can I double the recipe?
Yes, you can easily double the recipe! Double all the ingredients and divide the batter into two loaf pans. Keep an eye on the baking time and check for doneness by inserting a toothpick into the center. Adjust the time as necessary for even baking.
Can I use a different type of flour?
Yes, you can!For a gluten-free alternative, replace the all-purpose flour with a suitable gluten-free flour blend. Just make sure to choose a blend that includes xanthan gum for the best texture. If you prefer a healthier alternative, you could also use whole wheat flour, but keep in mind it may make the cake slightly denser.
How do I store leftovers?
After enjoying your cake, store any leftovers in an airtight container at room temperature for up to 3 days. If you want to keep it fresh for longer, wrap it tightly and refrigerate it for up to a week.
Is it possible to include additions like chocolate chips or nuts?
Absolutely! Adding chocolate chips or chopped nuts like walnuts or pecans is a great way to enhance the flavor and texture of your pound cake. Carefully fold them into the batter just before transferring it to the loaf pan.
