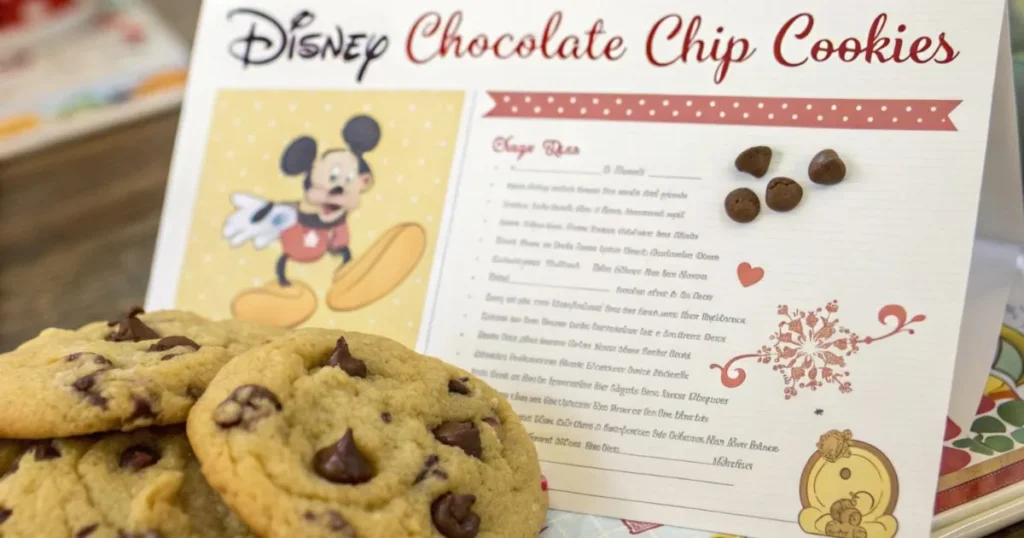
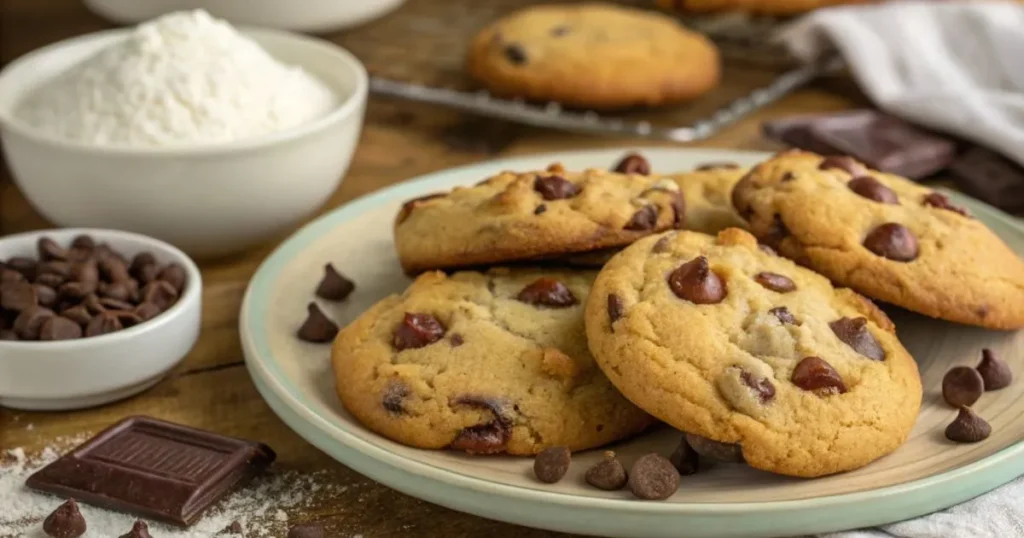
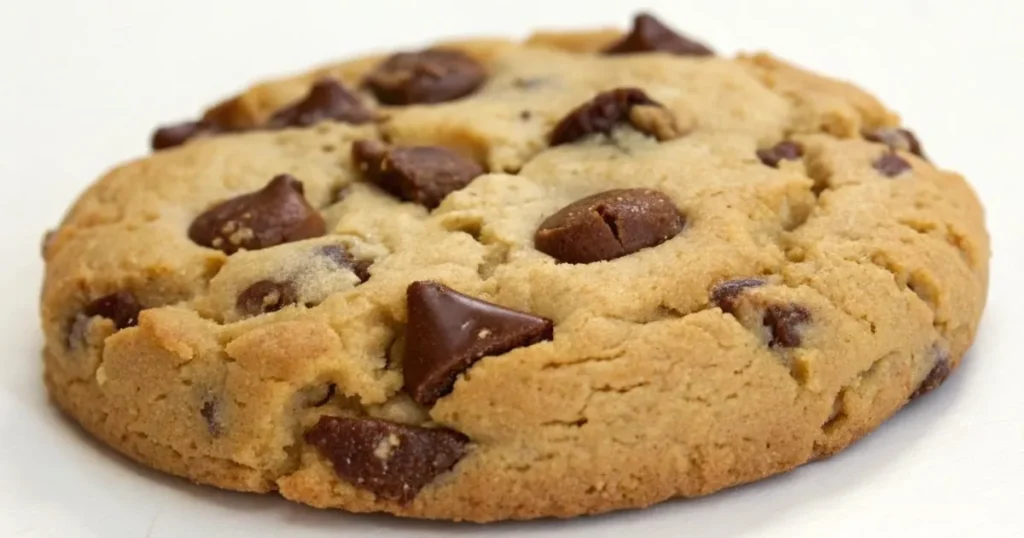
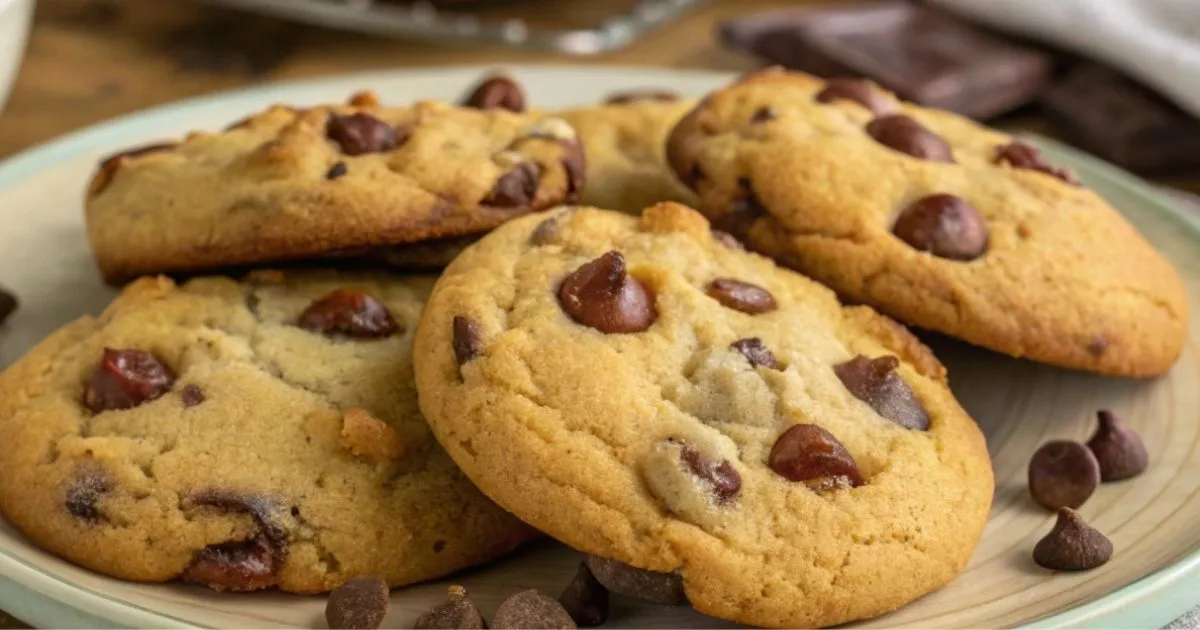
Who doesn’t love the magic of Disney? Now you can bring a taste of that magic into your kitchen with this Disney chocolate chip cookie recipe in metric measurements. Inspired by the famous cookies served at Disney Parks, this recipe is perfect for anyone who loves a soft, chewy, and delightfully chocolatey treat.
Baking can sometimes feel overwhelming, especially when it comes to measurements. That’s why this guide uses metric measurements for precision and ease, ensuring your cookies turn out perfectly every time. Whether you’re a seasoned baker or just starting, this step-by-step guide makes it simple to recreate Disney’s iconic cookies in the comfort of your home.
Ready to bake the most magical cookies ever? Let’s get started!
Table of Contents
Key Takeaways : Disney chocolate chip cookie recipe in metric measurements
Recipe Highlights
- Easy to Make: This Disney chocolate chip cookie recipe is straightforward, even for beginners. With simple ingredients and clear steps, you’ll have homemade cookies in no time.
- Perfect for Any Occasion: Whether it’s a family treat, a Disney-themed party, or a holiday gathering, these cookies are versatile and loved by all ages.
- Great for Meal Prep: You can easily make a large batch of cookies and store them for the week. They freeze well too, so you can enjoy fresh cookies later.
Unique Features
- Quick Prep Time: These cookies come together quickly, making them an ideal choice when you need a sweet treat in a hurry.
- Customizable Ingredients: Feel free to swap in your favorite mix-ins, like nuts, caramel, or white chocolate, to make the cookies your own.
- Precision with Metric Measurements: Using a digital scale and metric measurements ensures consistent results every time, giving your cookies the perfect texture and flavor.
This Disney chocolate chip cookie recipe combines convenience with creativity, making it the perfect go-to for anyone looking to bake a batch of delicious, magical cookies!
Why Everyone Loves Disney Chocolate Chip Cookies recipe in metric measurements

–The Story Behind Disney’s Famous Cookies
Have you ever wondered why Disney’s chocolate chip cookies have become such an iconic treat? These cookies trace their roots back to the kitchens of Disney Parks, where chefs meticulously crafted a recipe to capture the spirit of joy and indulgence. The idea was simple: create a cookie that would evoke a sense of wonder and happiness, just like the parks themselves.
Originally served as a comforting treat for park visitors, these cookies quickly gained legendary status. People started sharing their experiences, snapping pictures of the cookies, and even attempting to recreate the recipe at home. That’s when Disney decided to release the recipe, allowing fans to enjoy a piece of the magic no matter where they are.
–What Makes Disney Cookies Special?
What’s the secret to these cookies that makes them so unforgettable? It’s all about the details.
- Unique Flavor: The combination of high-quality chocolate and a perfectly balanced dough ensures every bite is rich and satisfying.
- Perfect Texture: Disney’s cookies are the ultimate hybrid—crispy on the outside and gooey in the middle. Achieving this balance is no small feat, and it’s what sets them apart.
- Whimsical Experience: These cookies are more than just a dessert; they’re an experience. They remind you of the magic, joy, and wonder associated with Disney.
Whether you’re reminiscing about your time at Disney Parks or discovering the recipe for the first time, these cookies are guaranteed to bring a smile to your face.
–The Importance of Accurate Measurements
Why does this recipe rely on metric measurements? The answer lies in the precision that baking demands.
- Consistency: Metric measurements eliminate the guesswork that often comes with cups and tablespoons. You’ll get the same amazing results every time.
- Ease of Use: Weighing ingredients in grams is not only more accurate but also faster—no more fiddling with measuring cups!
- Better Results: The metric system helps ensure that your cookies are the perfect blend of chewy and crispy, with every ingredient in the right proportion.
Using metrics may seem like a small detail, but it makes all the difference when it comes to recreating Disney’s signature chocolate chip cookies.
From the nostalgic story behind them to their unrivaled flavor and texture, it’s no wonder these cookies are loved by so many. With accurate metric measurements and a touch of magic, you’re one step closer to bringing Disney’s famous cookies to life in your own kitchen!
Essential Ingredients for Disney Chocolate Chip Cookie recipe in metric measurements

–The Must-Have Ingredients
To recreate Disney’s iconic chocolate chip cookies at home, you’ll need a few simple yet essential ingredients. Here’s a breakdown of what you’ll need, all listed with metric measurements for precision and ease:
- Flour – 250g all-purpose flour
- Baking Soda – 5g
- Salt – 2g
- Unsalted Butter – 170g, softened
- Brown Sugar – 150g, packed
- Granulated Sugar – 100g
- Eggs – 2 large
- Vanilla Extract – 10g
- Chocolate Chips – 200g (or more, depending on how chocolatey you want it!)
These ingredients work together to create the perfect balance of texture and flavor in every bite. The blend of butter and sugars gives you that irresistible softness, while the chocolate chips ensure that every bite is loaded with rich chocolatey goodness.
–Choosing Quality Ingredients
While these ingredients are easy to find, the quality of what you use can make a big difference in the final product. Here are a few tips to ensure you’re selecting the best ingredients for your cookies:
- Butter: Choose butter that is unsalted and contains a higher fat percentage for the best results.. It will contribute to a richer, more tender texture. Make sure it’s softened but not melted to get the right consistency when mixing.
- Chocolate: Choose high-quality chocolate chips or chunks. While standard brands will work, premium chocolate (think 70% dark chocolate) will elevate your cookies, giving them a deeper, more complex flavor.
- Sugar: For the best texture, go with dark brown sugar to bring out that molasses flavor that gives Disney cookies their signature richness.
Remember, in baking, quality matters! Investing in the right ingredients will result in a more flavorful and satisfying cookie.
–Ingredient Substitutions
If you have dietary preferences or restrictions, you can still enjoy these cookies with a few easy substitutions:
- Dairy-Free Butter: Replace the butter with your favorite dairy-free butter (look for a full-fat variety for the best texture).
- Egg Substitutes: If you’re vegan or allergic to eggs, use a flax egg (1 tbsp ground flaxseed mixed with 3 tbsp water) or a store-bought egg replacer.
- Gluten-Free Flour: For a gluten-free version, swap the all-purpose flour with a gluten-free flour blend that contains xanthan gum.
- Low-Sugar Options: If you want to cut down on sugar, try using coconut sugar or a sugar substitute like stevia in place of some of the granulated sugar.
These substitutions allow you to tailor the recipe to fit your dietary needs while still keeping that classic Disney cookie flavor.
With these essential ingredients in hand, you’re ready to start baking! The next step is to follow the recipe and enjoy the magic of Disney’s chocolate chip cookies right from your own kitchen.
Step-by-Step Guide to Baking Disney chocolate Cookie recipe in metric measurements
–Preparing Your Workspace and Tools
Before you start baking, it’s important to set up your workspace for a smooth and efficient process. Here’s what you’ll need to get started:
- Digital Scale: Using a scale is essential when working with metric measurements. It ensures you get the right amount of each ingredient for perfect results every time.
- Mixing Bowls: Choose medium to large-sized bowls to accommodate all your ingredients. For optimal mixing, glass or stainless steel bowls are the best choices as they provide an even distribution of ingredients..
- Baking Sheets: Line your baking sheets with parchment paper or silicone baking mats to prevent sticking and ensure even baking.
- Measuring Spoons: For ingredients like salt and vanilla, make sure to use proper measuring spoons for accuracy.
- Electric Mixer or Whisk: While you can mix by hand, an electric mixer will make things easier and faster when creaming the butter and sugars.
Having these tools ready will make the baking process go smoothly and ensure that your cookies turn out just like Disney’s!
–Mixing the Perfect Dough
Now that your workspace is set up, it’s time to mix the dough. Follow these simple steps to create the perfect dough consistency:
- Cream the Butter and Sugars:
- In a large mixing bowl, blend together softened butter, brown sugar, and granulated sugar until smooth and well combined. Using an electric mixer, cream the ingredients together on medium speed until light and fluffy. This should take about 2-3 minutes.
- Add the Eggs and Vanilla:
- Add the eggs one at a time, ensuring to beat thoroughly after each addition. Next, add the vanilla extract and stir until it is completely mixed into the batter.
- Combine the Dry Ingredients:
- In a separate bowl, whisk together the flour, baking soda, and salt. Slowly incorporate the dry ingredients into the wet mixture, stirring on low speed until just combined.
- Fold in the Chocolate Chips:
- Carefully fold the chocolate chips into the mixture using a spatula until evenly distributed. Be careful not to overmix—just enough to distribute the chocolate evenly throughout the dough.
Your dough should now be smooth, slightly sticky, and ready to shape.
–Shaping and Baking the Cookies
Achieving the perfect cookie texture starts with proper shaping and baking. Here’s how you can ensure your cookies bake evenly:
- Shape the Dough into Balls:
- Use a cookie scoop or two spoons to portion out about 1.5 tablespoons of dough per cookie. Roll each portion into a ball between your hands. This will ensure uniform-sized cookies that bake evenly.
- Space Them Out:
- Place the dough balls onto your prepared baking sheets, leaving about 5 cm between each one. This allows room for spreading while baking.
- Bake at the Right Temperature:
- Preheat your oven to 180°C (350°F). Bake the cookies for 10-12 minutes or until the edges are golden brown and the centers are still slightly soft.
- Check for Doneness:
- Keep an eye on your cookies toward the end of the baking time. They should be golden but not too crispy. If they’re too soft, give them another minute or two.
–Cooling and Serving Suggestions
Once the cookies are out of the oven, it’s important to let them cool properly so they maintain the perfect texture. Here’s how:
- Cool on the Baking Sheet:
- Let the cookies sit on the baking sheet for 5 minutes before transferring them to a cooling rack. This allows them to set and prevents breaking.
- Transfer to a Cooling Rack:
- After a few minutes, gently move the cookies to a cooling rack to finish cooling completely. This ensures they stay crisp on the outside and soft in the center.
- Serve Disney-Style:
- For the full Disney experience, serve your cookies with a glass of cold milk or a scoop of vanilla ice cream. You can even arrange the cookies on a fun Disney-themed plate for that extra touch of magic!
Now that you know how to mix, shape, bake, and cool your cookies, you’re ready to enjoy the magic of Disney chocolate chip cookies right in your own kitchen!
Tips for Baking disney chocolate chip cookie recipe metric measurements

–Why Metric Measurements Are Better
If you’ve ever struggled with inconsistent results in baking, it might be time to give metric measurements a try. Here’s why:
- Precision: Metric measurements, such as grams and milliliters, offer a much higher level of precision compared to traditional cup measurements. Even slight variations in ingredients can change the texture or flavor of your cookies, but with metric, you’re more likely to achieve consistent, professional results every time.
- Consistency: When you use a scale to measure your ingredients, there’s no guesswork involved. Whether you’re baking at home or recreating a famous Disney recipe, you’ll get the same results every time, even if you double the batch!
- Easier Scaling: If you need to make more or fewer cookies, it’s much easier to adjust a metric recipe without worrying about conversion errors.
–How to Convert Recipes to Metric
If you’re used to working with U.S. measurements, it can be a little tricky to switch over to the metric system. But don’t worry—it’s easier than you think! Here are some simple tips for converting your favorite recipes:
- Oven Temperature:
- To convert Fahrenheit to Celsius, subtract 32 from the Fahrenheit temperature, then multiply the result by 5/9.. For example, 350°F = 180°C.
- Flour and Dry Ingredients:
- 1 cup of all-purpose flour = 120g.
- 1 cup of sugar = 200g.
- Butter:
- 1 stick of butter = 113g.
- Liquid Ingredients:
- 1 cup of liquid = 240ml.
Use a reliable conversion chart for easy reference, or, for even more accuracy, simply measure everything out using a digital scale.
–Common Metric Baking Mistakes to Avoid
While baking with metric measurements is incredibly accurate, there are a few common mistakes to watch out for:
- Not Zeroing Your Scale:
Always make sure to zero out the scale before adding each ingredient. This is crucial when measuring ingredients like flour, sugar, or chocolate chips. Failing to do so could result in adding extra or less of an ingredient, which can affect the texture of your cookies. - Incorrectly Converting Between Metric and Imperial:
Conversion mistakes are common when switching from U.S. measurements. Always double-check your calculations—especially for ingredients that require precise amounts, like baking soda or salt. - Overlooking Ingredient Density:
Different ingredients can have different densities, which means the same volume can vary in weight. For example, 1 cup of flour weighs much less than 1 cup of butter. This is why weighing your ingredients is so important—particularly with flour, which can easily become overpacked or underpacked. - Not Using the Right Type of Scale:
If you’re serious about baking, invest in a high-quality digital scale that measures in grams and milliliters. Avoid using kitchen scales meant for general purposes, as they may not be accurate enough for precise baking.
Switching to metric measurements in your baking routine can feel like a game-changer, offering you the consistency and accuracy you need to create perfect Disney chocolate chip cookies every time. With these tips and a little practice, you’ll be a pro at measuring and baking with metrics in no time!
Variations and Creative Twists on Disney Cookie recipe in metric measurements
–Adding a Personal Touch
While the classic Disney chocolate chip cookies are delicious on their own, there’s always room to get creative! Adding mix-ins or experimenting with different flavors can give the cookies your own personal touch. Here are some fun ideas to try:
- Nuts: Add a handful of chopped walnuts, pecans, or macadamia nuts for extra crunch and richness. The nutty flavor pairs perfectly with the sweet, gooey chocolate chips.
- Caramel: For a buttery, melt-in-your-mouth twist, mix in caramel bits or toffee chunks. The sweet, chewy caramel adds a decadent contrast to the rich chocolate.
- White Chocolate: If you love the contrast between dark and light flavors, try swapping some of the regular chocolate chips for white chocolate chunks. The creamy sweetness of the white chocolate creates a beautiful balance with the rich cocoa of the dark chocolate.
- Peanut Butter: If you’re a peanut butter lover, try adding a few tablespoons of peanut butter to your dough for a nutty flavor that complements the chocolate perfectly.
Feel free to mix and match to create a cookie that’s uniquely yours—just like Disney!
–Healthier Versions
If you’re looking to make a healthier version of these cookies without sacrificing flavor, there are several ways to swap ingredients for lighter alternatives:
- Whole Wheat Flour: Swap out all-purpose flour for whole wheat flour to increase fiber content. This adds a slightly nutty flavor to the cookies and makes them a bit heartier.
- Reduce Sugar: You can cut down on sugar without sacrificing sweetness by reducing the amount of granulated sugar and using brown sugar for a deeper, more complex flavor. Alternatively, consider coconut sugar or stevia as a sugar substitute.
- Butter Alternatives: To make the cookies dairy-free, substitute the butter with coconut oil or a plant-based butter alternative. This can also reduce the overall saturated fat content in the cookies.
- Egg Substitute: For those following a plant-based diet, flax eggs or chia eggs (1 tablespoon ground flaxseed or chia seeds mixed with 3 tablespoons of water) are great alternatives.
By making these substitutions, you can enjoy a slightly healthier version of Disney’s famous chocolate chip cookies—guilt-free!
–Seasonal Disney Cookie Ideas
Disney cookies aren’t just for year-round enjoyment—they can also be adapted to fit the season or holiday! Here are some festive ideas to bring extra magic to your cookies:
- Holiday-Themed Shapes: For Christmas or other holidays, use cookie cutters to shape your cookies into snowflakes, gingerbread men, or pumpkins. Decorate them with icing or colored sugar for an extra fun touch.
- Festive Decorations: Turn your Disney cookies into works of art by decorating them with holiday sprinkles, edible glitter, or colored icing to create themed designs—think Mickey Mouse-shaped cookies for Disney lovers!
- Fall Flavors: During autumn, try adding a touch of cinnamon, nutmeg, or pumpkin puree to your dough. The warm spices will add cozy, seasonal flavors that pair wonderfully with the chocolate chips.
- Easter or Spring Treats: For Easter, use pastel-colored icing or sprinkles, and even shape the cookies like bunnies or eggs. A dash of lemon zest in the dough can also bring a fresh, citrusy vibe to your cookies.
Baking Disney chocolate chip cookies for different seasons or special events not only adds fun but allows you to enjoy the spirit of Disney in new, exciting ways.
Whether you’re adding a personal twist, making them healthier, or getting into the seasonal spirit, these variations of Disney chocolate chip cookies will keep your baking fresh and fun. Experiment with your favorite mix-ins and see where your creativity takes you!
Conclusion
In this guide, we’ve covered everything you need to create the perfect Disney chocolate chip cookie recipe metric measurements. From selecting the right ingredients to mixing the dough and adding your own personal touch, every step helps bring the magic of Disney right into your kitchen.
To recap, remember these key steps:
- Gather your ingredients: Use fresh, quality ingredients and measure them accurately with a digital scale.
- Mix the dough: Cream the butter and sugars, add the eggs and vanilla, then incorporate the dry ingredients carefully.
- Shape and bake: Portion the dough, bake at the right temperature, and check for the perfect golden edges.
- Cool and serve: Let the cookies cool before serving, and enjoy them with your favorite drink or in a fun Disney-themed way.
We hope this recipe inspires you to bake and share these delicious cookies with your family and friends. We’d love to see your creations—leave a comment below or tag us on social media using the hashtag #DisneyCookieMagic. Let’s spread the joy of baking together!
FAQs
Can I use regular measurements instead of metric?
Yes, you can! If you prefer using U.S. measurements, simply refer to a conversion chart to switch from grams to cups, but using metric measurements ensures better accuracy for perfect cookies every time.
How can I make these cookies gluten-free?
To make gluten-free cookies, substitute the all-purpose flour with a gluten-free flour blend. Be sure to check that the chocolate chips are gluten-free as well.
Can I add other ingredients to customize the recipe?
Absolutely! Feel free to mix in ingredients like chopped nuts, white chocolate chips, caramel bits, or even a spoonful of peanut butter for a delicious twist.
How do I store these cookies?
Store your cookies in an airtight container at room temperature for up to 4 days. For longer storage, freeze them for up to 3 months and thaw when ready to enjoy.
Can I use other sweeteners to reduce sugar?
Yes! You can try alternatives like coconut sugar, stevia, or maple syrup. Just be mindful that these may slightly change the texture and flavor of the cookies.
Why do my cookies spread too much while baking?
If your cookies spread too much, try chilling the dough for 30-60 minutes before baking to help them maintain their shape.
How do I make my cookies extra chewy?
To get extra chewy cookies, use more brown sugar than white sugar, and you can also add a tablespoon of cornstarch to the dough for a softer texture.
Can I bake these cookies in a fan-forced oven?
Yes, you can! If using a fan-forced oven, reduce the temperature by 10°C (20°F) and check your cookies a few minutes earlier than the recipe suggests.
