Have you ever wondered how something as simple as bread and crumbs can completely transform your cooking? Whether you’re turning stale bread into golden, crispy crumbs or experimenting with ways to elevate everyday dishes, this versatile ingredient duo is a game-changer in the kitchen. From adding crunch to casseroles to creating the perfect coating for your favorite fried recipes, the possibilities are endless. Let’s dive into some easy, creative hacks every home cook will love, making your meals even more delicious and satisfying!
Table of Contents
Key Benefits of Bread and Crumbs
Bread and crumbs are more than just pantry staples—they’re secret weapons for elevating your cooking. Here’s why every home cook should keep them on hand:
- Versatility in Cooking: Bread crumbs add texture and flavor to countless dishes, from crispy fried chicken to creamy casseroles. They’re also perfect for binding ingredients in meatballs or veggie patties.
- Creative Use of Leftovers: Stale bread often ends up in the trash, but transforming it into bread and crumbs reduces waste and gives it a second life in your meals.
- Customizable Flavors: Season bread and crumbs with herbs, spices, or even grated cheese to match the dish you’re preparing, whether it’s Italian, Mediterranean, or comfort food-inspired.
- Cost-Effective and Accessible: Making bread and crumbs at home is budget-friendly and ensures you always have a fresh supply tailored to your taste.
- Enhanced Texture and Appeal: A sprinkle of bread and crumbs on baked dishes creates a golden, crispy topping that’s irresistible to any crowd.
By embracing the potential of bread and crumbs, you’ll discover endless ways to create flavorful, satisfying dishes with ease.
Ingredients for Bread and Crumbs

Creating homemade bread and crumbs is surprisingly simple and requires only a few basic ingredients. Here’s what you’ll need:
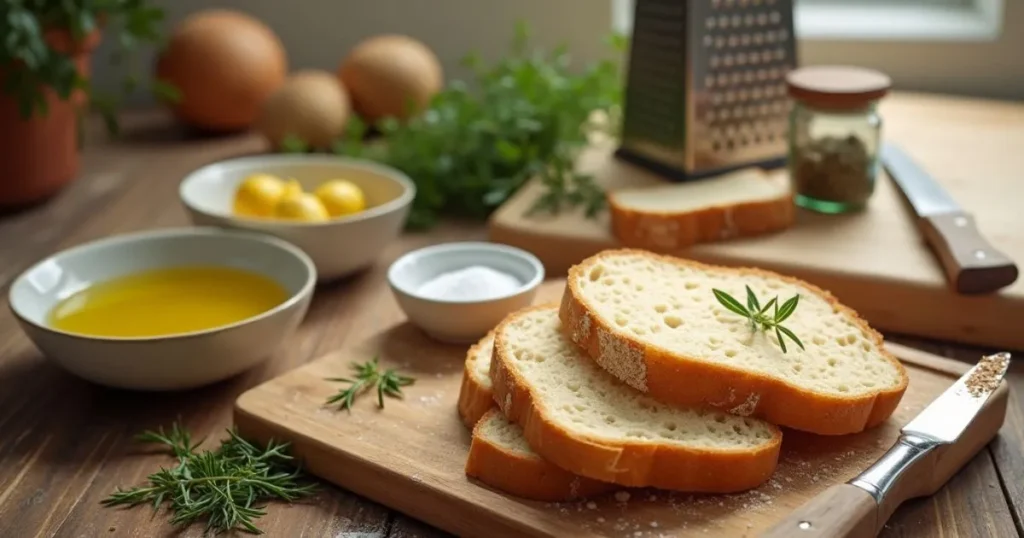
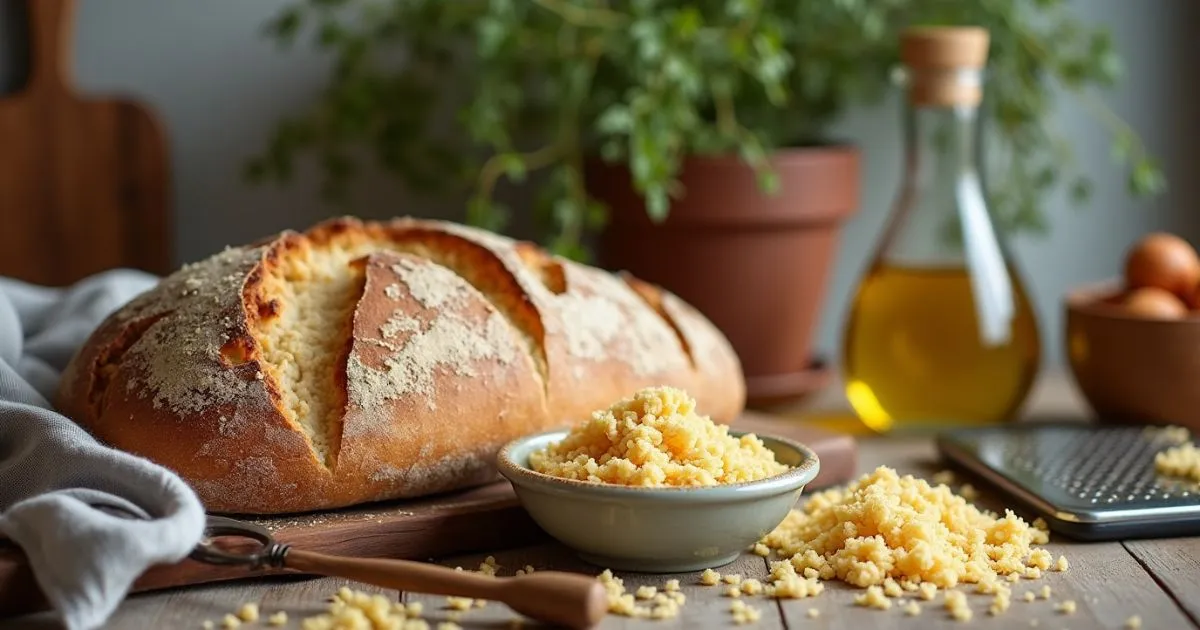
- Bread: Any type works—fresh, day-old, or stale. White, whole wheat, sourdough, or even gluten-free bread are all great options, depending on your preference.
- Optional Add-Ins: Enhance the flavor of your bread and crumbs by adding:
- Herbs: Dried oregano, parsley, or thyme.
- Spices: Garlic powder, paprika, or chili flakes for a kick.
- Cheese: Grated Parmesan for a rich, savory touch.
- Oil or Butter (Optional): A small drizzle of olive oil or melted butter can be used for toasted bread and crumbs , adding richness and a golden finish.
Why These Ingredients Work
- Using stale bread not only prevents waste but also results in a better crumb texture that’s perfect for cooking.
- Optional seasonings allow you to customize the crumbs to suit your dish, making them a versatile addition to your kitchen.
Gather your ingredients, and you’re ready to create a batch of breadcrumbs that will elevate your dishes with incredible flavor and texture!
How to Make Bread and Crumbs

Turning bread into crumbs is easy, fun, and satisfying. Follow these simple steps to create breadcrumbs tailored to your needs:
Step 1: Choose Your Bread
- Stale Bread: Ideal for breadcrumbs due to its firmness.
- Fresh Bread: Can work too—just dry it out slightly by toasting or leaving it out overnight.
Step 2: Prepare the Bread
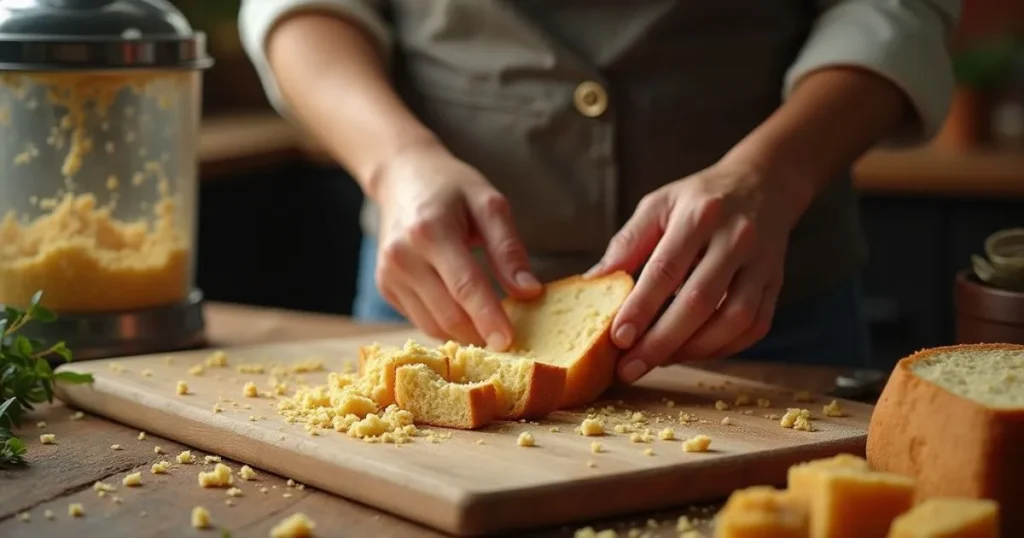
- Remove the crust if you prefer a finer texture, or leave it on for rustic crumbs.
- Cut the bread into small, even-sized pieces to ensure consistent results.
Step 3: Process the Bread
- For Soft Breadcrumbs:
- Use a food processor or blender.
- Pulse the bread pieces until you achieve the desired crumb size.
- For Toasted Breadcrumbs:
- Spread bread pieces on a baking sheet.
- Toast them in a preheated oven at 300°F (150°C) for 10–15 minutes, flipping halfway through.
- Let the toasted bread cool before processing it into crumbs.
Step 4: Add Flavor (Optional)
- Mix in herbs, spices, or grated cheese for seasoned breadcrumbs. Adjust the seasoning based on the dish you plan to make.
Step 5: Store Your Breadcrumbs
- Store the breadcrumbs in a sealed airtight container or a resealable bag.
- Keep them in the refrigerator for up to a week or freeze them for longer storage (up to 3 months).
With these steps, you’ll have fresh, flavorful breadcrumbs ready to enhance any recipe—from crispy coatings to savory toppings. It’s quick, customizable, and a perfect way to make the most of leftover bread!
Pro Tips and Variations
Now that you’ve mastered the basics of making bread and crumbs, let’s take your breadcrumb game to the next level! Here are some pro tips and creative variations to make your breadcrumbs even more exciting:
1. Toast for Extra Crispiness
If you want your breadcrumbs to have an irresistible crunch, toasting them in the oven adds an extra layer of texture. Simply spread your breadcrumbs on a baking sheet and toast them at 350°F (175°C) for about 5-10 minutes, stirring halfway through. This will bring out a nutty flavor and ensure that extra crispness you’re looking for.
2. Experiment with Different Bread Types
- Sourdough: Adds a tangy, slightly sour flavor that pairs perfectly with savory dishes like meatloaf or fried chicken.
- Whole Wheat: Ideal for more earthy, wholesome recipes. Great for veggie patties or as a healthier coating for baked foods.
- Gluten-Free Bread: For those with dietary restrictions, gluten-free bread works just as well to create delicious crumbs without sacrificing texture.
3. Seasoning Ideas
Add a burst of flavor by mixing different herbs and spices into your breadcrumbs:
- Italian Style: Combine garlic powder, oregano, and parsley for a Mediterranean twist.
- Spicy: Add chili flakes or smoked paprika for a smoky, spicy crunch.
- Cheesy: Stir in grated Parmesan or Romano for a rich, savory touch.
Feel free to adjust the seasonings to match your dish—breadcrumbs are a blank canvas waiting to be personalized!
4. Breadcrumb Substitutes
If you don’t have breadcrumbs on hand, don’t worry! Here are some quick alternatives:
- Crushed Crackers: Perfect for a crunchy coating or topping.
- Ground Nuts: Almonds or cashews can be ground into a fine crumb for a nutty alternative.
- Oats: Rolled oats can be used in place of breadcrumbs in meatballs or veggie patties for a slightly heartier texture.
5. Store for Later Use
Once you’ve made a big batch, keep your breadcrumbs fresh by storing them in an airtight container. You can also freeze them for up to three months—this way, you’ll always have them on hand for your next recipe!
With these pro tips and variations, you’ll be able to customize your breadcrumbs for any dish, bringing new flavors and textures to your meals with ease. Don’t be afraid to get creative—your breadcrumb journey is just beginning!
Serving Suggestions for Bread and Crumbs
Now that you’ve made your own fresh bread and crumbs, it’s time to get creative with how you use them! This versatile ingredient works wonders in a variety of dishes. Here are some delicious serving suggestions :
1. Crispy Coatings for Fried Foods
Bread and crumbs are perfect for coating meats, vegetables, or even cheese for a crispy, golden exterior. Try using seasoned breadcrumbs to coat:
- Chicken: Make classic breaded chicken cutlets or oven-baked chicken tenders.
- Vegetables: Coat zucchini, eggplant, or mushrooms for a crispy veggie snack.
- Cheese: Breaded mozzarella sticks are always a crowd favorite!
2. Topping for Casseroles or Baked Dishes
Add breadcrumbs to casseroles for a crunchy topping. They’ll bake to perfection, adding texture to creamy or cheesy dishes. Some great options include:
- Mac and Cheese: Top your mac and cheese with breadcrumbs before baking for extra crunch.
- Baked Ziti or Lasagna: Sprinkle breadcrumbs over the top of your pasta dishes to create a satisfying golden crust.
- Gratins: Try breadcrumbs over scalloped potatoes or vegetable gratins for a flavorful finish.
3. Binding Agent in Meatballs and Patties
Use breadcrumbs as a binder in recipes like meatballs, veggie patties, or meatloaf. They help hold everything together while keeping your dish tender and juicy. You can adjust the seasonings based on the flavor profile of your dish.
4. Stuffings and Fillings
Breadcrumbs work wonderfully as the base for stuffings, whether for vegetables, poultry, or other meats. Some ideas to try:
- Stuffed Bell Peppers: Use seasoned breadcrumbs mixed with vegetables and protein.
- Stuffed Chicken: Combine breadcrumbs with herbs, cheese, and garlic for a flavorful stuffing.
5. Add to Salads for Crunch
For an unexpected twist, sprinkle toasted breadcrumbs over salads to add crunch and flavor. They work particularly well with grain-based salads like quinoa or couscous, providing a satisfying texture contrast.
6. Garnishing Soups and Stews
A light sprinkle of crispy breadcrumbs can bring depth and texture to soups and stews. They can also be added to cream-based soups like tomato bisque or chowder for a delightful contrast.
No matter how you choose to serve them, bread and crumbs are sure to elevate your meals with their delicious texture and versatility. Let your creativity run wild, and you’ll discover even more ways to enjoy this simple yet transformative ingredient!
Conclusion
Making your own bread and crumbs is one of the simplest yet most rewarding kitchen hacks you can try. Whether you’re looking to reduce waste or enhance the flavor and texture of your meals, breadcrumbs are an incredibly versatile ingredient that’s easy to make and customize.
By using your favorite types of bread and adding seasonings, you can create breadcrumbs that perfectly complement any dish. From crispy coatings to delicious toppings, the possibilities are endless. Plus, making your own breadcrumbs allows you to control the ingredients, giving you a healthier, more flavorful option compared to store-bought versions.
So, next time you have some leftover bread, don’t toss it out—turn it into breadcrumbs and transform your cooking! Whether you’re using them to top a casserole, coat chicken tenders, or add crunch to a salad, homemade breadcrumbs are sure to elevate your dishes. Enjoy experimenting with flavors, and feel free to get creative with how you use them in your kitchen!
___________________________________________

Bread and Crumbs
Ingredients
- Bread any type
- Optional: Herbs oregano, parsley, spices (garlic powder, paprika), Parmesan, olive oil
Instructions
- Prepare Bread: Use stale or fresh bread. Cut into small pieces.
- Soft Breadcrumbs: Pulse in a food processor.
- Toasted Breadcrumbs: Bake at 300°F (150°C) for 10–15 mins, cool, then process.
- Season (Optional): Add herbs, spices, or cheese.
- Store: In an airtight container for 1 week or freeze for up to 3 months.
Video
Notes
- Calories: 100-120
- Fat: 2g
- Carbohydrates: 20g
- Protein: 3g
- Fiber: 2g
- Sodium: 180mg
- Sugar: 2g
FAQs
Here are some common questions about making and using bread and crumbs. Let’s clear up any confusion so you can make the most of this versatile ingredient!
1. Can I use stale bread for breadcrumbs?
Absolutely! In fact, stale bread is perfect for making breadcrumbs. It’s firmer and easier to crumble, and the slight dryness helps the breadcrumbs hold their shape when baked or fried. If your bread is super hard, simply cut it into smaller pieces and pulse it in a food processor.
2. Can I freeze breadcrumbs?
Yes, you can freeze breadcrumbs to keep them fresh for longer. Store them in an airtight container or freezer-safe bag. They can be frozen for up to three months. When you’re ready to use them, just toast them straight from the freezer or let them thaw on the counter.
3. How do I make breadcrumbs without a food processor?
If you don’t have a food processor, don’t worry! Simply place the bread in a large plastic bag and use a rolling pin to crush it into crumbs. You can also break the bread into pieces by hand and then use a grater to shred it into finer crumbs.
4. Can I use breadcrumbs in gluten-free recipes?
Yes! There are plenty of gluten-free breadcrumb alternatives. Use gluten-free bread to make your own crumbs, or try rice crumbs or almond flour for a different texture. You can season them in the same way you would regular breadcrumbs for a delicious result.
5. What’s the difference between fresh and dried breadcrumbs?
Fresh breadcrumbs are soft and have a more delicate texture, while dried breadcrumbs are crispier and have a more robust crunch. Fresh breadcrumbs are great for binding and adding moisture to dishes like meatballs, while dried breadcrumbs are ideal for coating foods or topping casseroles.
6. Can I use breadcrumbs in sweet dishes?
While breadcrumbs are most often used in savory recipes, they can be a fun addition to sweet dishes as well. You can use them to make fruit crumbles, add a crunchy texture to cakes or cookies, or even sprinkle over a warm bowl of fruit for a delightful contrast.
7. How do I store breadcrumbs?
Store your homemade breadcrumbs in an airtight container at room temperature for up to a week. For longer shelf life, freezing them is the best option. Make sure they’re completely cooled before storing to avoid any moisture buildup that could cause them to spoil.
If you have any other questions or need more tips, feel free to leave a comment below!
Recipe Recap: Bread and Crumbs
Recipe Details
- Prep Time: 10 minutes
- Cook Time: 10-15 minutes (for toasting, optional)
- Total Time: 20-25 minutes
- Servings: Makes about 2 cups of breadcrumbs
- Calories: 100-120 calories per serving (depending on bread choice and portion size)
Nutrition Information (per serving)
- Calories: 100-120
- Fat: 2g
- Carbohydrates: 20g
- Protein: 3g
- Fiber: 2g
- Sodium: 180mg
- Sugar: 2g
Categorize the Recipe
- Course: Side Dish, Snack
- Cuisine: American, European
- Diet: Vegetarian, Gluten-Free (if using gluten-free bread), Dairy-Free
- Method: Baking, Toasting
- Keyword: Homemade breadcrumbs, Bread crumbs, Bread and crumbs
- Skill Level: Easy
This bread and crumbs recipe is a simple yet highly versatile addition to your kitchen repertoire, ideal for any home cook looking to elevate their dishes. Whether you’re making crispy coatings, adding texture to casseroles, or creating a satisfying topping for soups, homemade breadcrumbs are an easy and flavorful way to boost your meals.
