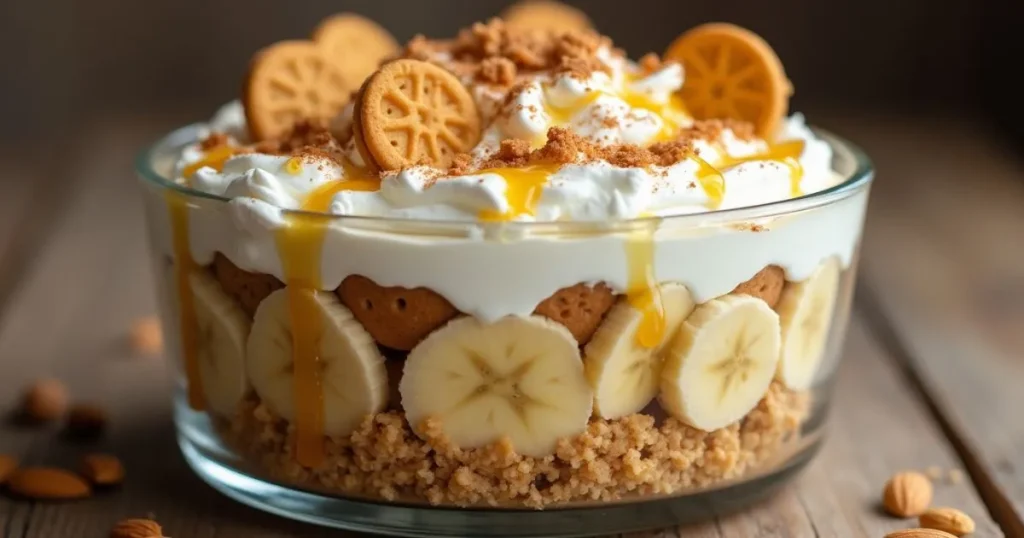
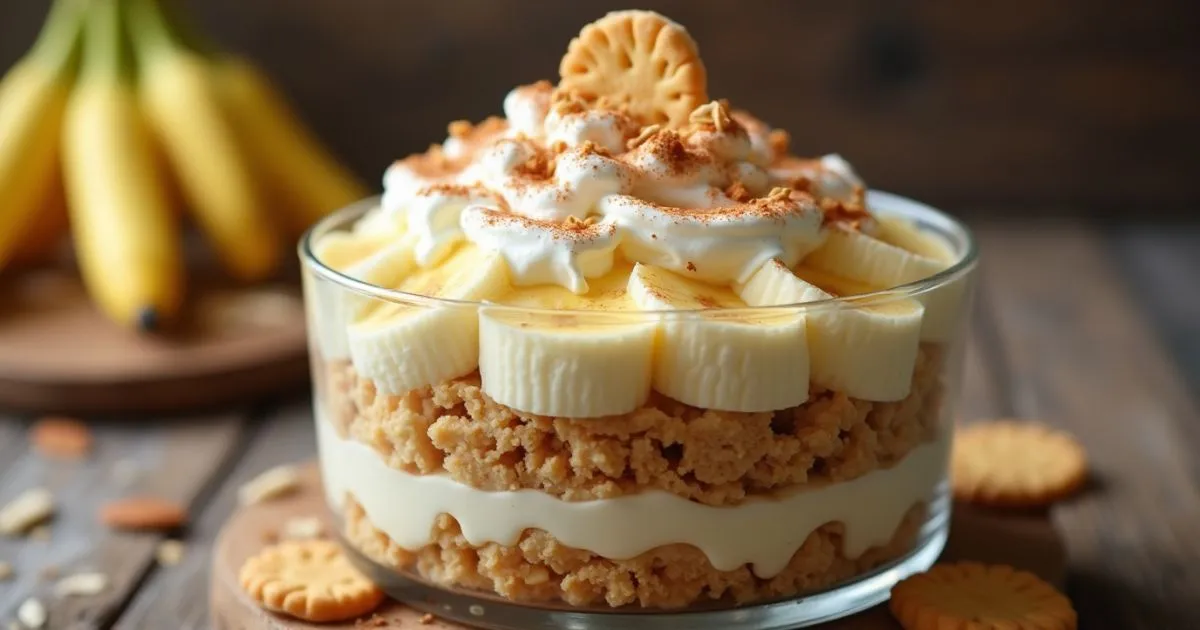
Craving a dessert that’s both incredibly easy and downright irresistible? This banana wafer pudding fits the bill perfectly! With its luscious layers of ripe bananas, crisp vanilla wafers, and creamy pudding, this classic treat is a crowd-pleaser for any occasion. Whether you’re entertaining guests or just in the mood for something sweet, this no-fuss dessert is sure to impress.
What sets this banana wafer pudding apart is how adaptable it is. You can dress it up with a sprinkle of cinnamon, swap in your favorite cookies for a twist, or top it with a generous layer of whipped cream for added indulgence. Best of all, it’s a no-bake dessert—ideal for when you want something delicious without spending hours in the kitchen.
This pudding recipe can also be easily tailored to fit your dietary preferences. Need a lighter version? Use plant-based milk, sugar alternatives, or gluten-free wafers to make it suit your lifestyle. Whether you’re making it for a special diet or just craving a nostalgic favorite, this banana wafer pudding delivers flavor and flexibility in every bite.
Table of Contents
Key Takeaways
Recipe Highlights:
- Simple to Prepare: This banana wafer pudding is quick and effortless to make, making it an ideal dessert for hectic days when you’re craving something sweet without the extra work.
- Customizable: Easily tailor this recipe to your liking by swapping in different wafers or adding your favorite toppings to create a unique twist every time.
- Great for Meal Prep: This dessert holds up well in the fridge, making it a fantastic choice for preparing ahead of time for parties, picnics, or family gatherings.
Unique Features:
- Quick Prep: This is a no-bake recipe, meaning it requires no time in the oven—just assemble, chill, and enjoy!
- Customizable Ingredients: Whether you’re looking to add a twist with flavored wafers, or prefer a sugar-free version, this dessert allows for endless creative options to fit your dietary preferences.
Nutrition and Wellness Benefits of Banana Wafer Pudding
1.General Overview
Banana wafer pudding is a smooth, flavorful dessert made with a handful of simple ingredients like ripe bananas, pudding, and crisp wafers. Though it’s typically a rich treat, it can also offer nutritional value—especially when made with wholesome ingredient swaps. By opting for lighter, protein-rich components, you can enjoy a dessert that not only tastes great but also contributes to your daily nutrient intake. Whether you’re indulging solo or preparing it for guests, this pudding can be easily adapted to meet different dietary goals.
2. Key Nutrients
| Nutrient | Amount per Serving |
|---|---|
| Calories | 250-300 kcal |
| Carbohydrates | 40-45g |
| Protein | 3-4g |
| Fats | 8-10g |
| Fiber | 2-3g |
| Vitamins | Vitamin C (from bananas), Vitamin A (from dairy) |
| Minerals | Potassium (from bananas), Calcium (from dairy) |
3. Health Benefits
- Bananas are a great source of potassium, an important nutrient that supports heart function and helps regulate blood pressure. They also provide vitamin C, which boosts immunity and supports healthy skin.
- Wafer biscuits can offer a good source of fiber, which aids in digestion and promotes a feeling of fullness, potentially helping with weight management.
- Pudding made with dairy is an excellent source of calcium and protein, both of which are important for bone health and muscle repair.
4. Modifications
To make the banana wafer pudding more diet-friendly, here are some swaps you can try:
- Vegan Version: Use dairy-free milk (like almond or coconut milk) and plant-based whipped cream or coconut cream for the pudding filling.
- Gluten-Free: Choose gluten-free wafers or cookies to make this dessert safe for those with gluten sensitivities.
- Lower-Calorie: Use low-fat or fat-free pudding mix and opt for sugar-free wafers to reduce the overall calorie count.
- High-Protein: Replace regular pudding with a protein-packed alternative, such as a high-protein Greek yogurt-based pudding.
Ingredients
This banana wafer pudding recipe is simple yet delicious, using just a few key ingredients that come together to create a creamy and satisfying dessert. Whether you’re preparing it for a family gathering or a special treat, the ingredients are easy to find and adaptable to suit different dietary needs. Below, you’ll find the standard ingredients along with some optional substitutions to make this dessert fit your preferences.

1. List of Ingredients
| Ingredient | Amount |
|---|---|
| Bananas | 3 ripe bananas |
| Vanilla wafer cookies | 2 cups |
| Instant vanilla pudding mix | 1 package (3.4 oz) |
| Milk | 2 cups |
| Whipped cream | 1 cup |
| Sugar | 1/4 cup |
| Vanilla extract | 1 teaspoon |
2. Optional Substitutions
| Ingredient | Substitution Idea |
|---|---|
| Bananas | Use frozen bananas for a firmer texture |
| Vanilla wafer cookies | Use gluten-free wafers or crushed graham crackers |
| Instant vanilla pudding mix | Substitute with a sugar-free pudding mix or a plant-based alternative |
| Milk | Almond milk, coconut milk, or oat milk for a dairy-free version |
| Whipped cream | Coconut whipped cream or dairy-free whipped topping |
| Sugar | Stevia, monk fruit sweetener, or maple syrup for a healthier option |
| Vanilla extract | Use almond extract for a different flavor twist |
This table helps you adapt the banana wafer pudding to different dietary preferences while maintaining the delicious, creamy texture and flavor of the dessert.
Instructions: Step-by-Step for Banana Wafer Pudding
Step 1: Prepare the Ingredients
- Peel and Slice the Bananas: Begin by peeling 3 ripe bananas and slicing them into 1/4-inch thick rounds. Try to keep the slices as even as possible for a uniform texture throughout the dessert.
- Mix the Pudding: In a medium mixing bowl, whisk together the instant vanilla pudding mix and 2 cups of milk according to the instructions on the package. After thoroughly mixing, let the pudding sit for about 5 minutes. This resting time allows the pudding to thicken and set to the perfect consistency.
Step 2: Assemble the Layers
- First Layer of Vanilla Wafers: In a large serving dish or individual cups, start by laying down a layer of vanilla wafer cookies at the bottom. Ensure the wafers are evenly spread out, covering the base completely. If you’re using a larger dish, you may need more than 2 cups of wafers.
- Add the Bananas: Once the wafers are in place, take your sliced bananas and arrange them evenly over the wafers, ensuring each bite will have a perfect balance of banana and wafer.
- Add the Pudding Layer: Next, spread a generous layer of the thickened pudding mixture over the bananas. Use a spatula to smooth it out, ensuring the pudding completely covers the bananas.
- Repeat the Layers: Continue layering the ingredients, following the same pattern: wafers, bananas, and pudding. Keep layering until you’ve used all your ingredients, ensuring the final layer is pudding.
Step 3: Top with Whipped Cream
- Spread the Whipped Cream: Once all layers are assembled, top the dessert with a layer of whipped cream. You can use store-bought whipped cream or homemade for an extra touch of indulgence. Spread it evenly over the top layer of pudding using a spatula for smooth coverage.
- Garnish (Optional): For a decorative touch, garnish with extra banana slices or crushed vanilla wafer cookies on top. This adds a nice texture and makes the pudding look more visually appealing.
Step 4: Chill and Serve
- Refrigerate: Once assembled, cover the dish tightly with plastic wrap or a lid and refrigerate for at least 2 hours. This step is crucial for allowing the flavors to meld together and for the pudding to firm up, creating the perfect creamy texture.
- Serve: Once chilled, your banana wafer pudding is ready to serve! Scoop into bowls or cups, and enjoy chilled.
Additional Tips:
- Chill for Best Results: Allowing the pudding to chill in the refrigerator not only helps the layers set but also gives time for the flavors to blend, making the pudding even more delicious.
- Texture Cue: The pudding should be thick but smooth. If it’s still too runny after sitting, you can mix in a little more pudding mix to reach the desired consistency.
- Layering Tip: For the best texture and flavor in every bite, be sure to spread each layer evenly. This ensures that the flavors are well-balanced and every serving is just as good as the last.

Cooking Tips & Tricks for Banana Wafer Pudding
Best Equipment for Success:
- Large Mixing Bowl: A big bowl helps you mix the pudding and milk thoroughly without spilling.
- Serving Dish or Trifle Bowl: For beautiful layering, a glass serving dish or trifle bowl works best, allowing you to see the distinct layers of pudding, bananas, and wafers.
- Whisk or Electric Mixer: Use a whisk to combine the pudding mix with milk, or an electric mixer for a smoother consistency if preferred.
- Plastic Wrap or Lid: Cover the dessert with plastic wrap to prevent it from absorbing other fridge odors while it chills.
Variations:
- Flavor Variations:
- Add a touch of cinnamon or nutmeg to the pudding mixture for a warm spice twist.
- For a tropical flavor, layer in some coconut flakes or use coconut milk instead of regular milk.
- Nutty Texture: Add a handful of chopped nuts like walnuts or pecans between the layers for extra crunch.
- Chocolate Lovers: Drizzle chocolate syrup or add layers of chocolate chips in between the banana and pudding layers for a decadent treat.
Common Mistakes to Avoid:
- Overmixing the Pudding: When mixing the pudding, avoid overwhisking. Overmixing can lead to an overly runny texture instead of the thick, creamy consistency you want.
- Not Chilling Long Enough: Ensure that you chill the pudding for at least 2 hours. If it’s not properly chilled, the layers won’t set, and it may be too runny.
- Using Unripe Bananas: Use ripe bananas for the best flavor and texture. Unripe bananas can be too firm and lack the natural sweetness that enhances the dish.
- Skipping the Layering: Even distribution of bananas, wafers, and pudding ensures that every bite is perfectly balanced. Skipping or rushing the layering process can lead to uneven texture in your dessert.
Serving Suggestions for Banana Wafer Pudding
Serving Ideas:
- Toppings:
- Top it off with a spoonful of whipped cream or a dash of cinnamon to elevate the flavor
- For a rich finish, drizzle with chocolate syrup or caramel sauce.
- Crushed nuts (e.g., almonds or walnuts) make for a great crunchy contrast against the creamy pudding.
- Sides to Pair:
- Serve alongside a refreshing fruit salad or sliced strawberries to complement the sweetness of the pudding.
- A small scoop of vanilla ice cream or coconut sorbet can enhance the dessert’s richness.

Presentation Tips:
- Layered Display: For an elegant touch, serve the pudding in individual glass cups or jars, allowing the layers to be visible for a beautiful presentation.
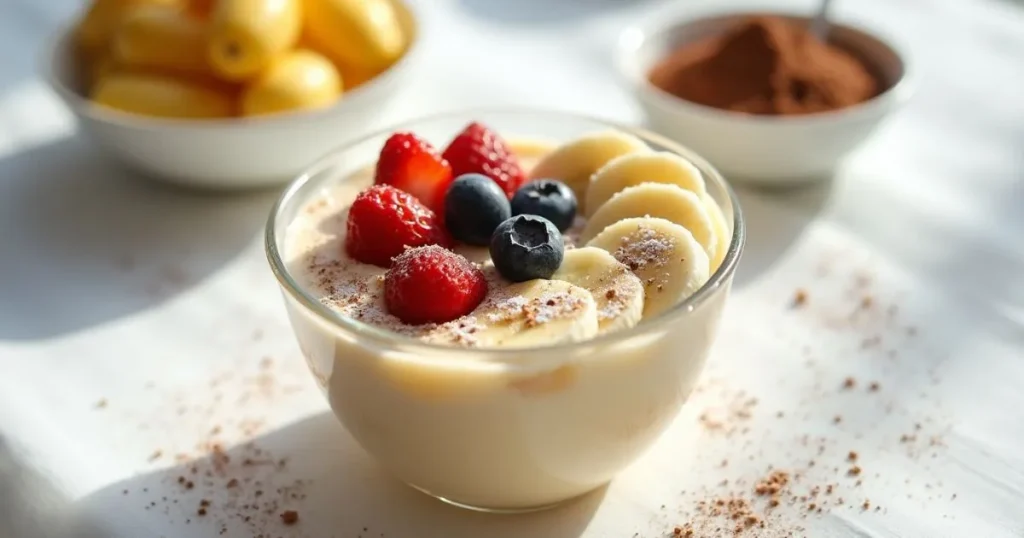
- Garnish with Fruit: Top the pudding with fresh banana slices, or even blueberries or strawberries, to add color and contrast.
- Dusting: Lightly dust the top with powdered sugar or cocoa powder just before serving for an added visual appeal.
- Chilled Glassware: For a refreshing look, chill the serving glasses or bowls before assembling the dessert to keep the pudding cold longer.
Conclusion
As you can see, best banana wafer pudding is the perfect combination of simplicity and indulgence. With its creamy texture, sweet bananas, and crunchy wafer layers, this dessert is sure to please every palate. Whether you’re preparing it for a special occasion or enjoying it as a comforting treat at home, this easy-to-make banana wafer pudding recipe allows for endless customization, ensuring it suits any taste or dietary preference.
What makes this dessert even better is how quickly it comes together—no need for complicated baking or hours of prep time. You can simply layer the ingredients, chill, and serve. If you’re looking for a sweet treat that delivers both flavor and convenience, banana wafer pudding is the ultimate choice.
So, why wait? Try it today and discover for yourself why this simple dessert has stood the test of time. From its versatile ingredients to its customizable variations, there’s no limit to the ways you can enjoy this delicious, family-friendly pudding. Enjoy!

Banana wafer pudding
Ingredients
- 3 ripe bananas
- 2 cups vanilla wafer cookies
- 1 package 3.4 oz instant vanilla pudding mix
- 2 cups milk
- 1 cup whipped cream
- 1/4 cup sugar
- 1 teaspoon vanilla extract
Instructions
- Prepare the Ingredients: Peel and slice the bananas. Mix the instant pudding mix and milk in a bowl, let sit for 5 minutes to thicken.
- Assemble Layers: In a dish, layer vanilla wafer cookies, followed by banana slices, and then pudding. Repeat the layers.
- Top with Whipped Cream: Spread whipped cream over the top layer of pudding.
- Chill: Refrigerate for at least 2 hours to set and chill.
- Serve: Scoop into bowls or cups and enjoy chilled!
Notes
Calories: 280
Total Fat: 9g
Saturated Fat: 5g
Protein: 3g
Carbohydrates: 44g
Fiber: 2g
Sugar: 25g
Sodium: 180mg
FAQs
Can I freeze the leftovers?
While it’s best served fresh, you can freeze banana wafer pudding for up to 1 month. However, the texture may change after freezing, as the bananas might become mushy upon thawing. To enjoy it at its best, we recommend storing leftovers in the fridge for 2-3 days.
How do I adjust the banana wafer pudding recipe for larger portions?
To make a bigger batch, simply double or triple the ingredients and use a larger serving dish. The layering process remains the same, just ensure there’s enough space in your dish to accommodate the extra layers.
Is it possible to substitute a different type of pudding mix?
Absolutely! You can swap the vanilla pudding mix for chocolate, butterscotch, or banana pudding for a fun twist. Keep in mind that the flavor of the pudding will change the overall taste of the dessert.
How long should I let the pudding chill?
For the best results, chill the banana wafer pudding for at least 2 hours. This allows the layers to set and the flavors to blend. For an even firmer texture, you can chill it overnight
Can I use fresh whipped cream instead of store-bought?
Yes, you can definitely use fresh whipped cream! Simply whip heavy cream with a little sugar and vanilla extract until soft peaks form. It will add a rich, homemade touch to your dessert.
What can I use in place of bananas if I’m allergic?
If you’re allergic to bananas, you can substitute with mashed berries like strawberries or blueberries, or even sliced peaches for a fruity twist. The texture may vary slightly, but the flavor will remain just as tasty.
Banana Wafer Pudding Recipe Recap
Recipe Details
Prep Time: 15 minutes
Chill Time: 2 hours
Total Time: 2 hours 15 minutes
Servings: 6–8
Calories: ~280 per serving
Nutrition Information (Per Serving)
Calories: 280
Total Fat: 9g
Saturated Fat: 5g
Protein: 3g
Carbohydrates: 44g
Fiber: 2g
Sugar: 25g
Sodium: 180mg
Recipe Categorization
Course: Dessert
Cuisine: American
Diet: Vegetarian, Gluten-Free Option, Dairy-Free Option Available
Method: No-Bake
Keyword: Banana wafer pudding, easy no-bake dessert, banana pudding recipe
Skill Level: Beginner-Friendly
This classic Banana Wafer Pudding is a creamy, layered no-bake dessert featuring sweet bananas, crisp vanilla wafers, and velvety pudding. Perfect for gatherings or a cozy treat at home, it’s easy to prepare and endlessly customizable with options like cinnamon, chocolate drizzle, or dairy-free alternatives. It’s the nostalgic, crowd-pleasing dessert you’ll come back to again and again!
